Part 5 – Player Interaction
This is article 5 in our multi-part series on developing a custom shader for Unity 3D. In this article we will be adding player input to our JellyClickReceiver so users can interact directly with the shader from the scene.
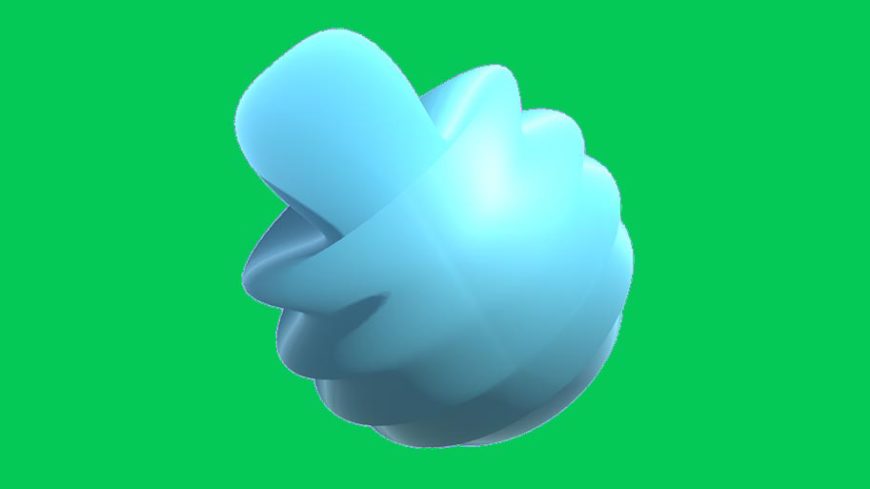
Let’s start adding interactivity to our sphere. Add the following lines to the middle of your update function.
if (Input.GetMouseButtonDown(0))

{

controlTime = 0;

}
Your update function should now look like this.
void Update () {

controlTime += Time.deltaTime;
if (Input.GetMouseButtonDown(0))

{

controlTime = 0;

}
modelRenderer.material.SetFloat("_ControlTime", controlTime);

}
All this extra bit of code is doing is resetting our controlTime to 0 whenever the primary mouse button is clicked, resetting our wave animation. So we can enjoy our little wave animation over and over and over. But, I think we can do better. Let’s make our animation only reset if we click on the sphere.
First, select the gameobject for your model that contains our MeshRender and JellyClickReceiver then click “Add Component.” From the Add Component menu that pops up, find SphereCollider and select it.
This should add a sphere collider that pretty accurately fits our model. (Assuming you’re using the example sphere model. If not, try and fit the collider as closely to the model as possible. Feel free to use a collider other than sphere if it would fit your model better.)
Now we need to add some more code to JellyClickReceiver.cs. First define two more private variables of types RaycastHit and Ray.
public class JellyClickReceiver : MonoBehaviour {
RaycastHit hit;          //New Variable

Ray clickRay;            //New Variable
Renderer modelRenderer;

float controlTime;
Right now, we reset our controlTime to zero as soon as the mouse button is clicked. For this next step, when the mouse button is clicked, a ray will be cast from the click location into our scene and if it hits something, we reset our controlTime to zero. Let’s start by defining that ray. Add the following line inside the ‘if’ block inside our update function.
clickRay = Camera.main.ScreenPointToRay(Input.mousePosition);
ScreenPointToRay is a useful function built into Unity cameras that takes a screen space position and constructs a world space ray that goes from the selected camera through the provided screen position.
Screen Space vs World Space
If you’d like a deeper explanation of screen space vs world space, there’s a great answer on the Unity Answers site here.
Next we need to cast that ray. Add the following lines directly after our clickRay assignment.
if (Physics.Raycast(clickRay, out hit))

{

controlTime = 0;

}
Physics.Raycast casts an invisible particle along the ray provided by clickRay and if it hits any colliders along the way, it returns true and provides information about the collision (such as what it collided with and where) in the variable hit. Later on, we will use the additional information provided by hit, but for now, if we hit anything we reset our shader.
Your Update function should look like this.
void Update () {

controlTime += Time.deltaTime;
if (Input.GetMouseButtonDown(0))

{

clickRay = Camera.main.ScreenPointToRay(Input.mousePosition);
if (Physics.Raycast(clickRay, out hit))

{

controlTime = 0;

}

}
modelRenderer.material.SetFloat("_ControlTime", controlTime);

}
That’s all for this article. In the next part of this series we will dive deeper into our sine wave’s movement axis.